
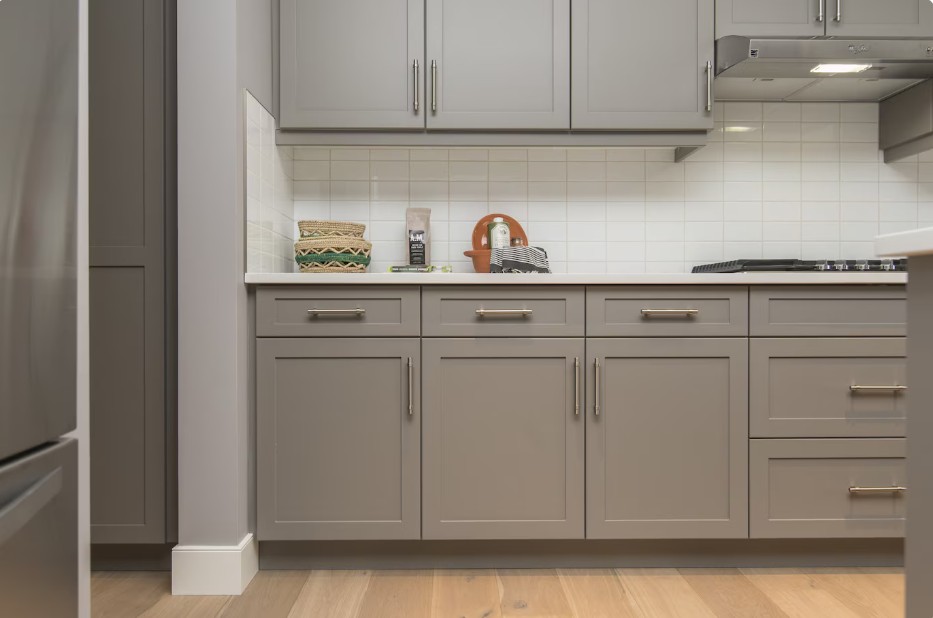
Kitchen Cabinet Refinishing | A Step-by-Step Guide
Kitchen Cabinet Refinishing is a cost-effective way to give your kitchen a fresh look without the hassle of a full remodel. Whether you want to update the color, remove years of wear and tear, or just bring new life to your space, refinishing can transform your kitchen with a fraction of the effort and expense. Here’s a comprehensive guide to refinishing kitchen cabinets yourself.
1. Prepare Your Space and Gather Supplies
Before you dive into the project, make sure you have all the supplies and tools you’ll need. Refinishing can be a bit of a messy job, so prep your space.
Supplies needed for Kitchen Cabinet Refinishing:
• Screwdriver (for removing cabinet doors and hardware)
• Painter’s tape
• Drop cloths or plastic sheeting to protect surfaces
• Cleaning supplies (TSP or degreaser)
• Sandpaper (medium and fine grit)
• Sanding block or electric sander
• Wood filler (if needed for any dings or holes)
• Primer (preferably bonding primer)
• Paint or stain (depending on your choice)
• Paintbrushes or a paint sprayer
• Polyurethane (for protection)
Optional:
• Cabinet hardware (knobs, pulls) if you’re replacing old ones
• Respirator mask (for sanding and painting)
• Gloves and safety glasses
2. Remove Cabinet Doors and Hardware
To get the best results, remove all cabinet doors and hardware. This will give you more access to the surface area and prevent paint drips on the handles.
• Use a screwdriver to take off the knobs, pulls, hinges, and any other hardware.
• Label the doors and their corresponding locations on the cabinets with masking tape, so you’ll know where each one goes when you’re done.
Pro Tip: Take this opportunity to replace old hardware with something fresh if you’re looking for a style update!
3. Clean the Cabinets Thoroughly
Over time, kitchen cabinets collect grease, grime, and dirt. Before you do anything, give them a deep clean.
• Use a degreaser or TSP cleaner to remove any cooking residue from the surfaces.
• Rinse with clean water and dry everything off. This ensures the primer and paint adhere properly.
4. Sand the Cabinet Surfaces
Sanding is one of the most important steps in refinishing cabinets. It helps create a smooth surface and ensures that paint or stain adheres well.
• Use medium-grit sandpaper (around 120 grit) to sand the cabinet doors and frames. If the cabinets are particularly glossy, this step is especially crucial to remove the shiny finish.
• Once you’ve sanded down the surfaces, switch to fine-grit sandpaper (around 220 grit) to smooth everything out. Don’t skip this step—sanding will make the finish more professional-looking.
• If there are any scratches, dents, or holes in the wood, fill them with wood filler and sand them down once dry.
Pro Tip: Wear a mask while sanding to avoid inhaling dust particles!
5. Apply Primer
Now that your cabinets are clean and sanded, it’s time to prime. A good primer will help the paint stick to the surface and prevent peeling or chipping over time.
• Use a high-quality bonding primer specifically designed for wood. Apply it evenly with a brush or roller.
• Let the primer dry according to the manufacturer’s instructions. You may need to apply a second coat for a smooth finish.
• Sand lightly with fine-grit sandpaper between coats if necessary.
6. Paint or Stain the Cabinets
Once the primer is dry, it’s time to apply your paint or stain. The choice between paint or stain depends on the look you’re going for.
For Paint:
• Choose a paint designed for cabinets, preferably a durable enamel or latex paint.
• Use a high-quality brush or, for a more uniform finish, a paint sprayer.
• Apply a thin first coat and allow it to dry completely.
• Lightly sand the surface between coats with fine-grit sandpaper to avoid brush marks and ensure a smooth finish.
• Apply a second coat, and if necessary, a third.
For Stain:
• Apply the stain with a clean cloth, wiping off any excess as you go to ensure an even finish.
• Allow the stain to penetrate for the desired amount of time, then wipe off excess. Let it dry thoroughly before applying any protective finish.
7. Protect with Polyurethane
To keep your freshly painted or stained cabinets looking beautiful, apply a clear protective finish. This will help them stand up to daily wear and tear.
• Choose a water-based or oil-based polyurethane depending on your preference. Water-based polyurethanes dry faster and have less odor, while oil-based ones tend to be more durable.
• Apply the polyurethane with a clean brush, using thin, even coats. Be sure to let each coat dry fully before adding another. Lightly sand between coats to maintain a smooth finish.
• Two or three coats should be sufficient to protect your cabinets.
8. Reattach the Doors and Hardware
Once your cabinets are dry and the protective finish is fully set, it’s time to put everything back together.
• Reattach the cabinet doors to their respective frames.
• Install the hardware (knobs, pulls, hinges) back onto the doors.
Pro Tip: If you’re replacing hardware, make sure to drill new holes or use a template to ensure everything aligns correctly.
9. Clean Up and Enjoy Your New Cabinets
After everything is reassembled, take a step back and admire your hard work. Clean up any mess, remove painter’s tape, and dispose of used materials. If any touch-ups are needed, now’s the time to make them.
10. Maintain Your Cabinets
Now that your cabinets are refinished, regular care will help them last longer.
• Wipe down your cabinets with a soft cloth regularly to avoid the buildup of grease or dust.
• Avoid using abrasive cleaners that could damage the finish.
Conclusion
Kitchen cabinets refinishing can be a rewarding project that saves you money and makes a big impact on your space. With a little patience and the right tools, you can achieve a professional-looking result without hiring an expert. Whether you opt for a fresh coat of paint or a new stain, this DIY project is a great way to breathe new life into your kitchen.
Happy refinishing!




https://shorturl.fm/yaRB2
https://shorturl.fm/oTXGk
https://shorturl.fm/zi6Hu
https://shorturl.fm/3QQBK
https://shorturl.fm/UzUPC
This post is exactly what I was searching for today. The clear, unbiased way you detailed everything makes it a fantastic reference guide that I will definitely bookmark.
Кредит на авто — как люди исполняют мечту
This is a great guide! For those looking for expert assistance, you might also find professional cabinet restoring services helpful for achieving a high-quality finish.